An Introduction to JavaServer Faces (JSF) 9
What do we have in this session 9?
-
The response.xhtml File
|
|
The response.xhtml File
Because the project already contains a file named response.xhtml, and since you know what the template client file should look like now, modify the existing response.xhtml to become the template client file. (For purposes of this tutorial, just copy and paste the provided code.)
1. Open response.xhtml in the editor. (If it is already opened, press Ctrl-Tab and choose it.) Replace the contents of the entire file with the code below.
|
Note that the file is identical to
greeting.xhtml, except for the content specified between
the <ui:define>
tags for title
and
box.
2. In the project's web.xml deployment descriptor, modify the welcome file entry so that greeting.xhtml is the page that opens when the application is run.
In the Projects window, double-click Configuration Files > web.xml to open it in the editor. Under the Pages tab, change the Welcome Files field to faces/greeting.xhtml.
-----------------------------------------------------------------------------------------------

3.
Run the project to see what it looks like in a browser. Press
F6 (fn-F6 on Mac), or click the
Run Project (
![]() )
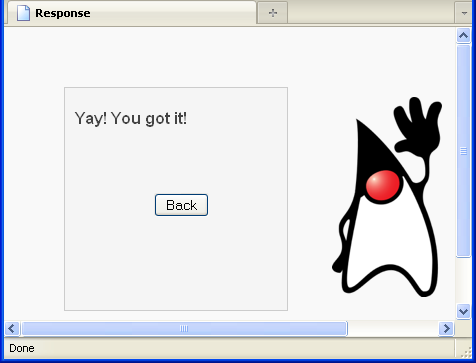
button in the main toolbar. The project is deployed to the GlassFish server, and opens in a browser. Try guessing the number assumed by Duke and see the result!
)
button in the main toolbar. The project is deployed to the GlassFish server, and opens in a browser. Try guessing the number assumed by Duke and see the result!


---------------------------------------------------------------
--------------------------------------------------------------------
Using the Facelets template and template client files, the application behaves in exactly the same way as it did previously. By factoring out duplicated code in the application's welcome and response pages, you succeeded in reducing the size of the application and eliminated the possibility of writing more duplicate code, should more pages be added at a later point. This can make development more efficient and easier to maintain when working in large projects.