Install and Use NetBeans 6.9 part 1
What do we have in this session 1?
-
Download and Install NetBeans 6.9.1
------------------------------------------------------------------
-
Launching and Using NetBeans
-
NetBeans Update Prompt
-
Building a Simple Java Web Application Sample
-
Creating the Entity Class and Session Facade
-
Creating the Entity Class
-
Creating the Session Façade
-
Creating the JSF Managed Bean and JSF Pages
-
Creating the Managed Bean
-
Modifying the Index.xhtml Page
-
Creating the Results Page
-
Running the Application
-
Rectifying Some Errors
|
|
In this brief tutorial we are going to install NetBeans 6.9.1 on Windows XP Pro and then, we are going to build a sample Java web application. The specifications used in this tutorial are:
Download and Install NetBeans 6.9.1
Please download the latest NetBeans at netbeans.org. In this case we have downloaded the all version that contains all the components. Double click the NetBeans executable.
|
Dismiss the Windows Security Warning message by clicking the Run button.
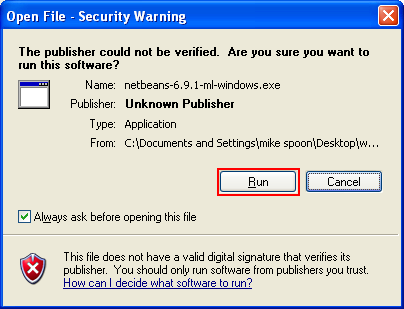
The NetBeans installer should be launched and start the installation.

Just wait the next instruction from the installation wizard.

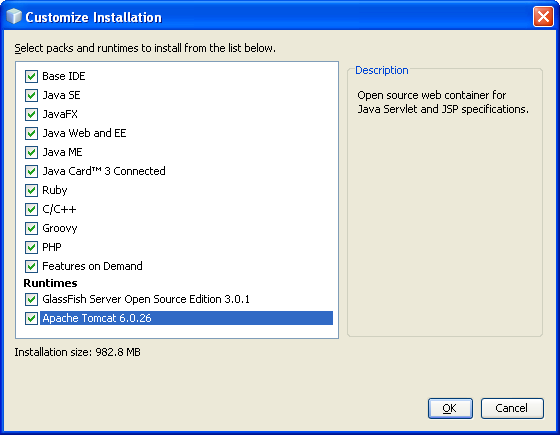
From the welcome installation page, click the Customize button. We will select all the component for this installation. Take note that similar to other installation, you can still re-install other components later.

Select Apache Tomcat 6.0.26 (or the version shown on your installation). Please select all the components. Click OK and click Next.
-----------------------------------------------------
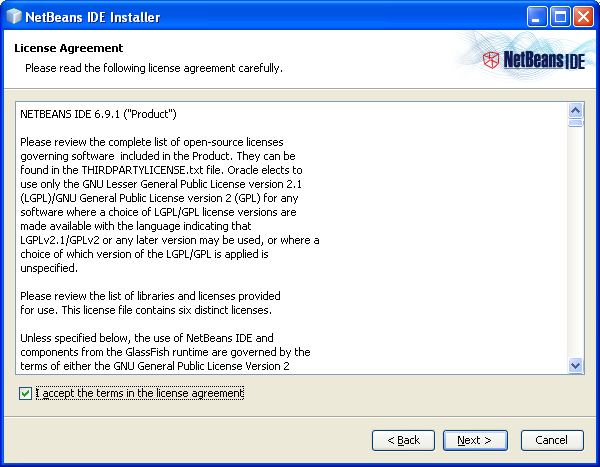
Accept the License Agreement and click Next.
Set the NetBeans installation and the JDK folder or just select the default given as in this case. Click Next.

Select the GlassFish web server installation folder or just select the default given and click Next.

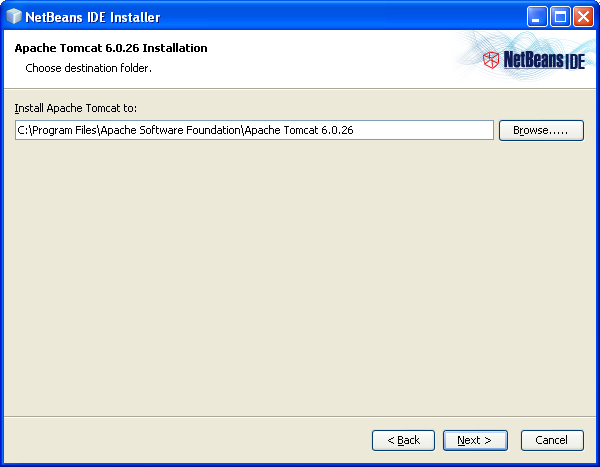
Select the Apache tomcat installation folder or just select the default given and click Next.
If you already satisfied with the chosen installation settings, click Finish. If you want to change any settings, click Back button.
------------------------------------------------------------

The installation should begin.


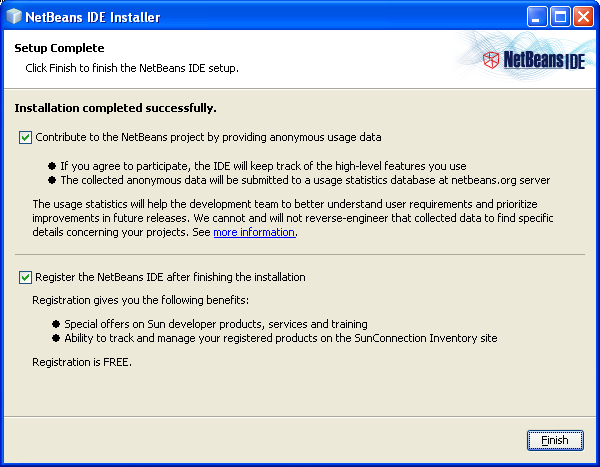
Click Finish when the installation was completed successfully. If there are any errors, there should be error or warning messages.
< Java and Friends | NetBeans and Java Web 2 >
