<Java Programming Part 4 |Java & Friends Activities |NetBeans & MySQL >
Install, Test and Use NetBeans 6.x.x IDE
For Windows
Contents:
The machine specifications used in this task:
JDK 6 or JDK 5.0 is required for installing and running the NetBeans IDE. You can downloadstandalone JDK or download the latestJDK6 Update 6 with NetBeans IDE Java SE bundle. You can also download the NetBeans IDE as part of theJava EE 5 Tools Bundle orMySQL GlassFish Bundle. We already downloaded, installed and tested theJava JDK previously.
Installing NetBeans 6.x.x on Windows XP Pro SP2++
NetBeans IDE is suitable for commercial grade Java applications development including GUI, enterprise and web applications. Netbeans comes with Java web server: Apache Tomcat and Glassfish and you can even add other Java based web server. This is comparable toJava Studio that Sun wants todump.
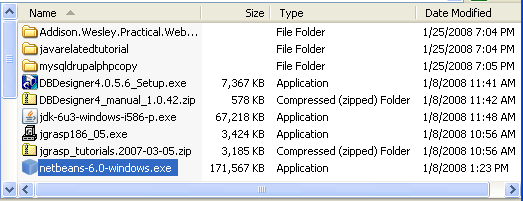
1. As usual, go toNetbeans.org to download the latest version of NetBeans. We downloaded the full version that is the full bundled 'package'. |

You can add or remove packs later using the IDE's Plugin Manager (Tools > Plugins).
2. Double click the Windows exe self-extracting file.
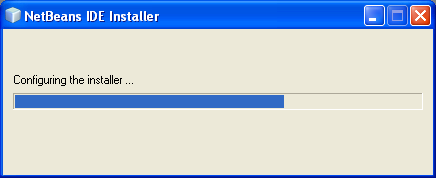
3. The NetBeans IDE installer will be launched.
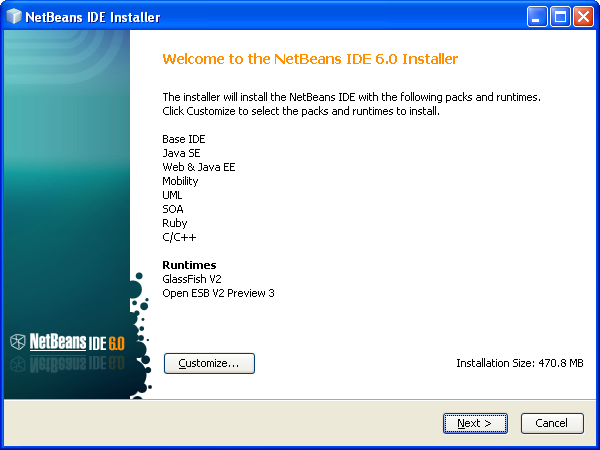
4. Then the NetBeans IDE installer wizard welcome page displayed. A list of default packs and runtimes shown in this welcome page. Click the Customize button.
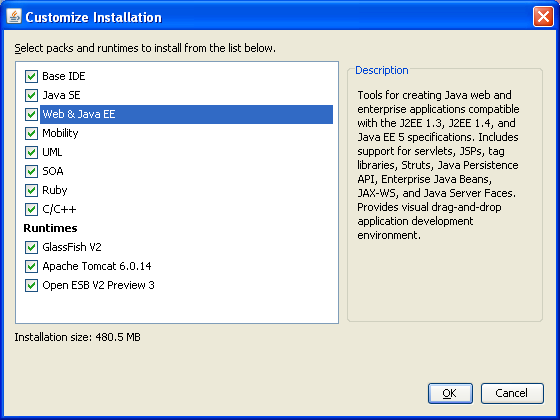
5. In our case, se select all packs and runtimes. Click OK.
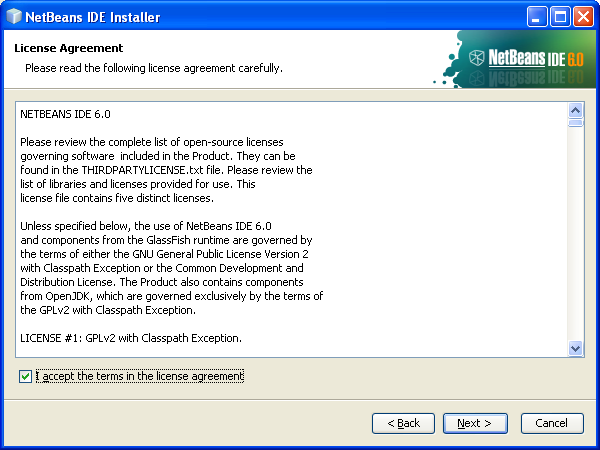
6. Accept the License Agreement and click Next.
7. Choose the installation path. Click Browse if you want to change. The Java JDK properly set to the desired path for this machine. In our case we just accept the given path. Click Next.

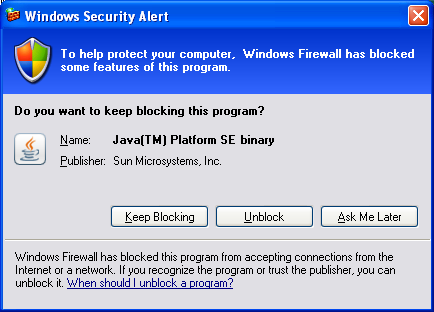
8. As usual, if the following Windows Security Alert displayed, click the Unblock.
9. Next is the GlassFish web server installation path selection. We just accept the default path give. Set the GlassFish administrator (admin) password and the default is adminadmin. Notice the http, https and GlassFish Administration ports used. Click Next.

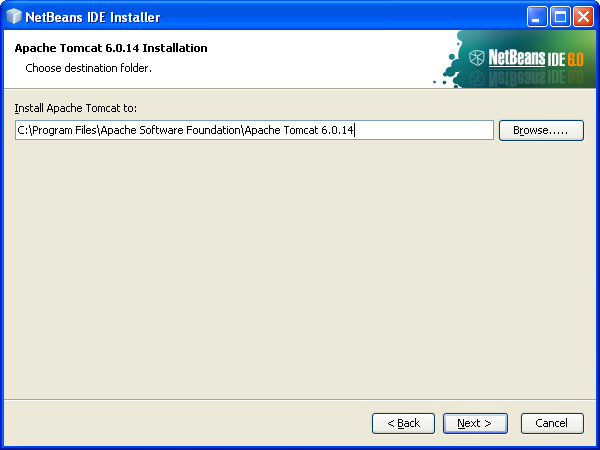
10.Next, set the Apache Tomcat installation path. We just accept the given path. Change accordingly if you want to change by clicking the Browse button. Click Next.
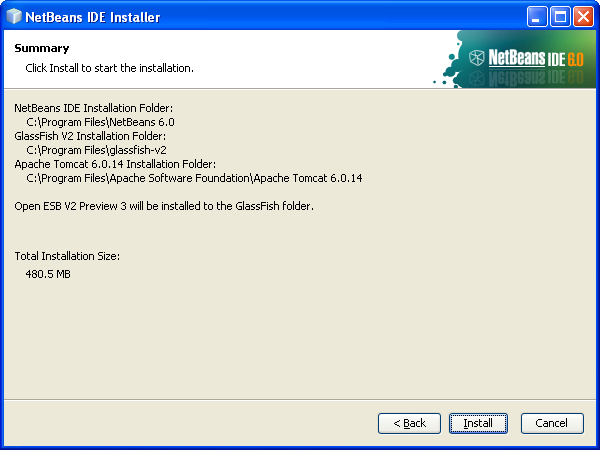
11.Next is the NetBeans IDE installation summary. If you want to change the previously selected settings, click Back otherwise click Install.
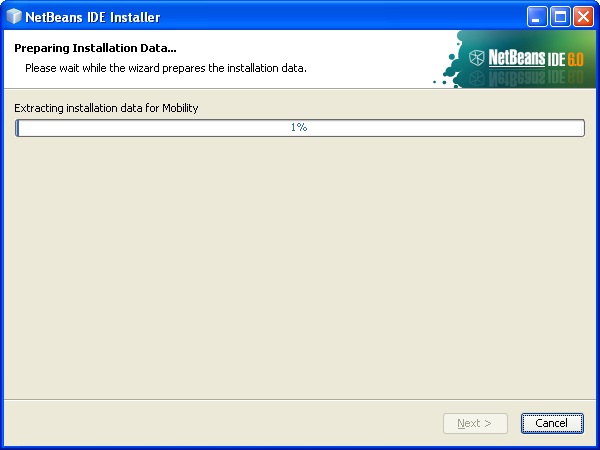
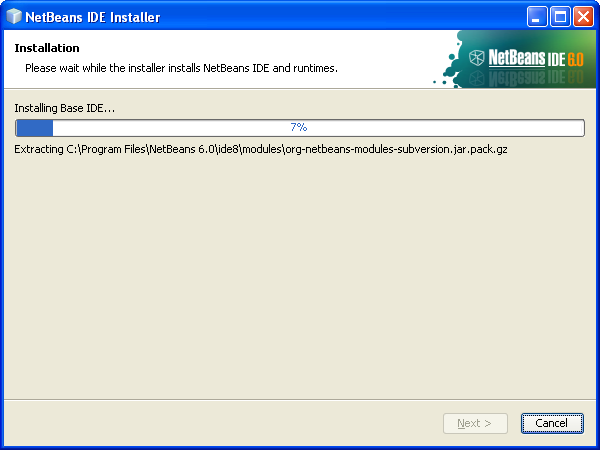
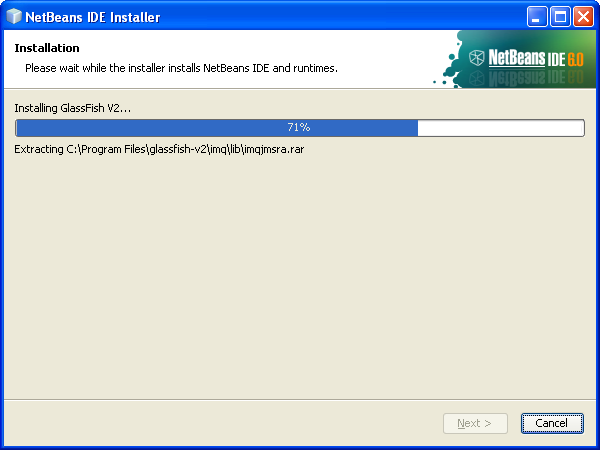
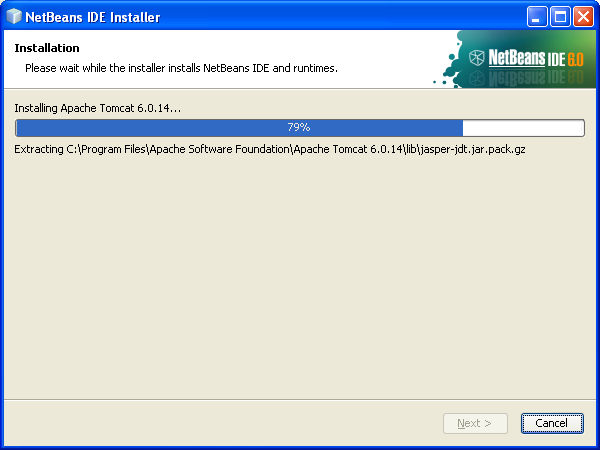
12.The installation begins. Wait and relax.

13.Again, click the Unblock button.
|

14.The installation completed successfully as shown in the following Figure. Click Finish.

Exploring NetBeans 6.x.x
1. The following shortcut has been added to Windows Start menu and the desktop. Double click the icon on your desktop or click the Start menu.


2. The following is the NetBeans IDE splash screen. The loading time quite long lol! Hopefully, newer version should be faster.

3. Again, click the Unblock.

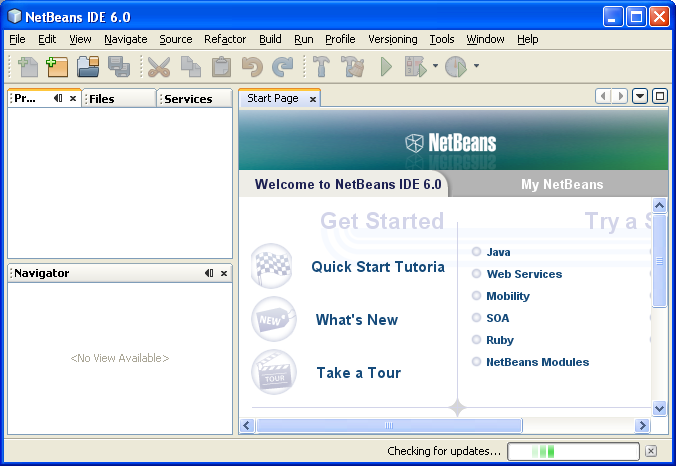
4. The following is the NetBeans IDE 6.0.
The NetBeans Project Options
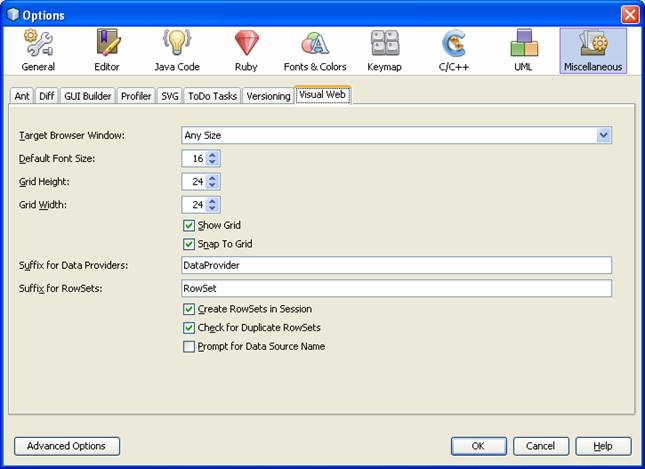
1. Let explore some of the NetBeans IDE features. Select Tools > Options. So many settings and change those settings to suit your programming environment. Click OK to close this Options page.
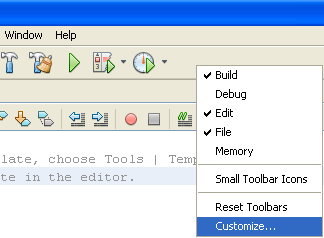
2. You can add or remove more short cut icons. Right click the icon bar > click Customize.
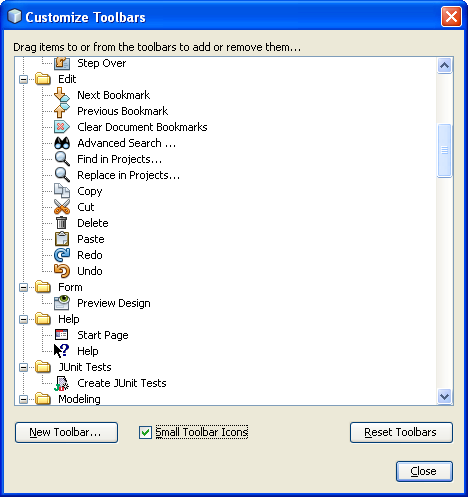
3. Choose toolbars or individual icons.
Plugins Manager: Updating
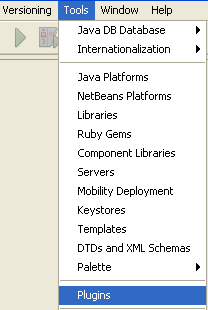
1. If you are connected to the Internet, click Tools > Plugins.
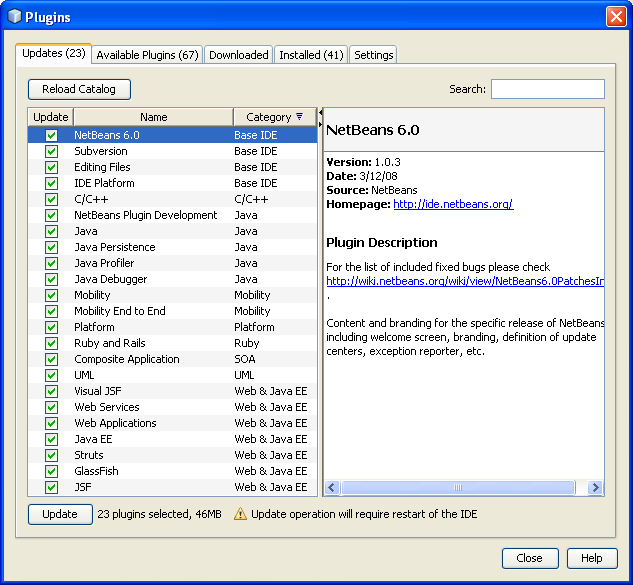
2. Here you can select the updates that you want to install. Select and/or deselect the updates and click the Update button.
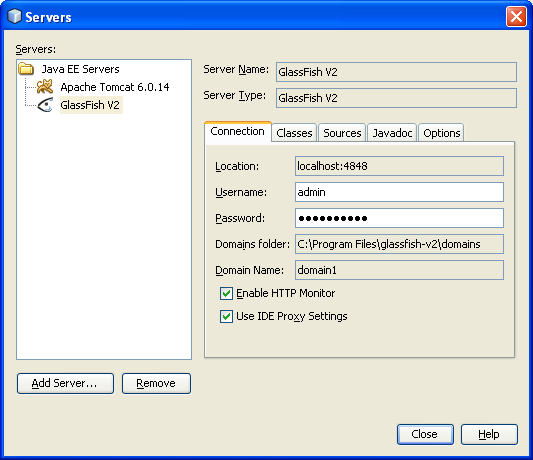
NetBeans and GlassFish V2 Web Server and Other Services
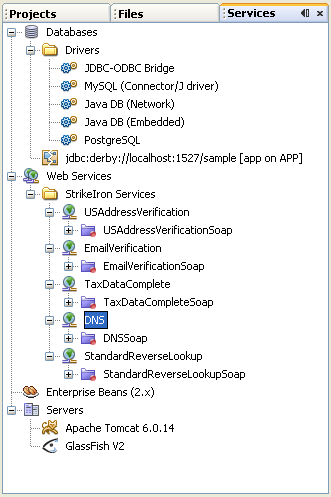
1. Click the Services tab. Several database drivers already provided for us. There are also Apache Tomcat and GlassFish web servers ready to be used as web applications testing container.
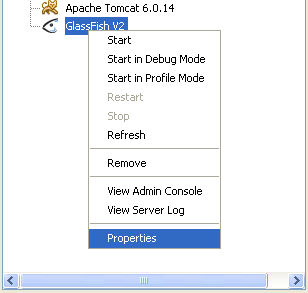
2. Select GlassFish V2 > right click mouse > Select Properties.
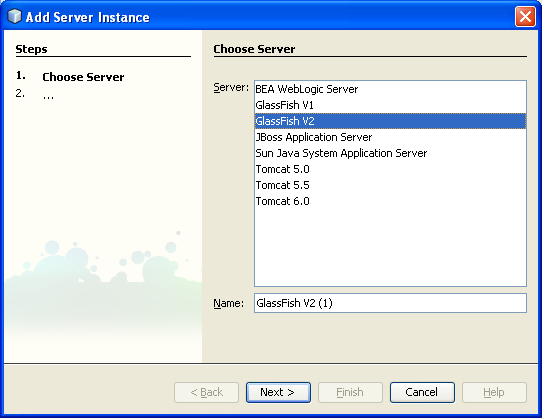
3. You can add more web server that suit to your needs. Click the Add Server and follow the instructions if you want to add other web server.
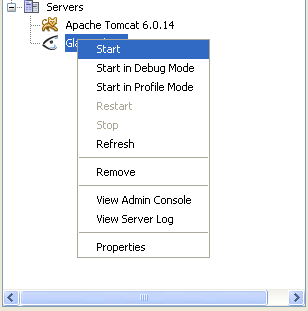
4. Next, start the GlassFish web server. Select GlassFish V2 > click Start.
NetBeans: GlassFish Web Administration Console
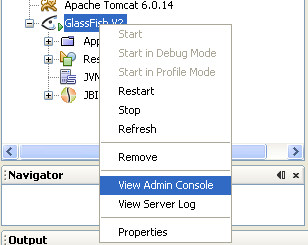
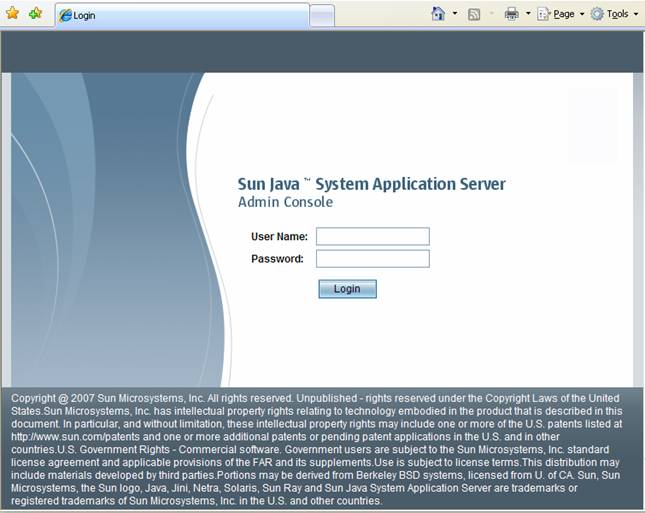
1. Then, select GlassFish V2 > View Admin Console.
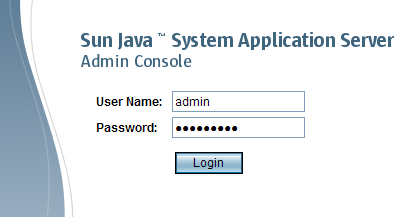
2. The web interface for the web administration will be launched. Fill in the adminas username and its password set during the NetBeans installation (the default password is adminadmin). Click Login.
----------------------------------------------------------------------------------------------------------------
-----------------------------------------------------------------------------------------------------------------
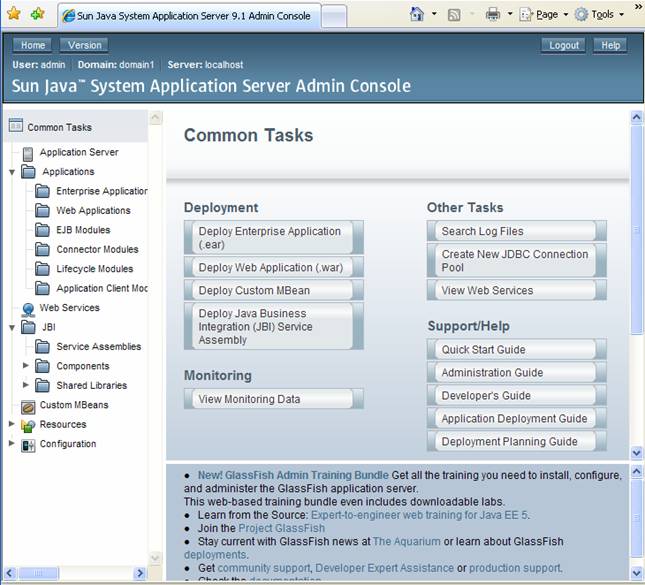
3. Very nice interface huh! You can also try theApache Tomcat web server however Tomcat's administration web application is no longer installed by default. You need to download and install the "admin" package to use it.
NetBeans: Building and Running a Simple Java Program
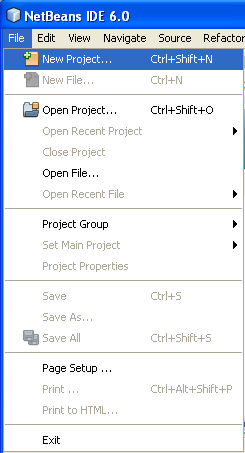
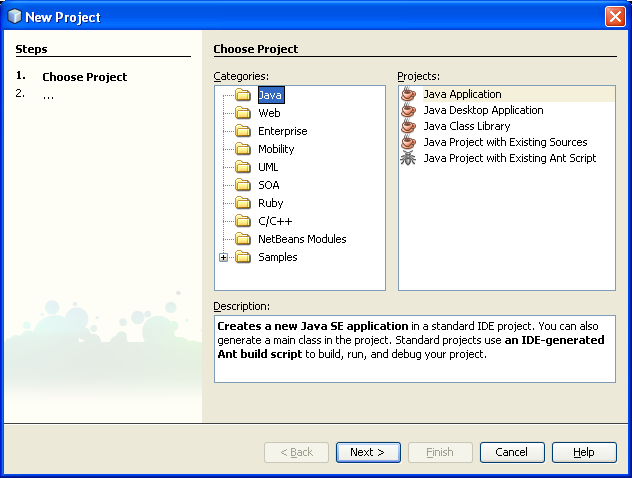
1. Well, other features will be explored when we build Java desktop and web applications later. Next, let build and run a very simple Java program with console output just to test its functionality. Follow the steps shown in the following Figures. Select File > New Project.
2. Select Java in Categories: > Java Application in Projects: > click Next.
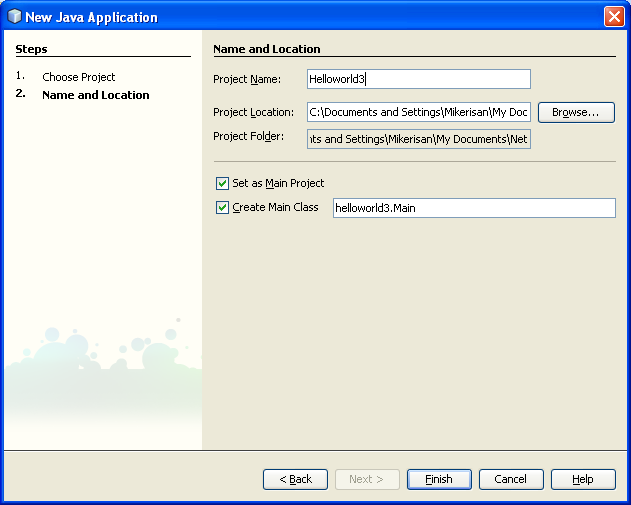
3. Put the project name. In this case we use Helloworld3. Change others accordingly if needed. In this case we just select the default given. Click Finish.
4. The following is the Helloworld3 project template.

5. Copy and paste the following crap simple plain old Java code.
//*************************************
// helloworld3.java
//*************************************
public class Helloworld3
{
//-----------------------------------------------
// Just for fun!!! A classic Hello World program
//-----------------------------------------------
public static void main(String[] args)
{
System.out.println("Hello bastard Java World!");
System.out.println("HE..HE..HE..HE..HE...");
}
}

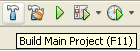
6. Build the Java program through Build menu. Click Build Main Project.

7. Or as usual, through the short cut icons in the icon bar.
![]()
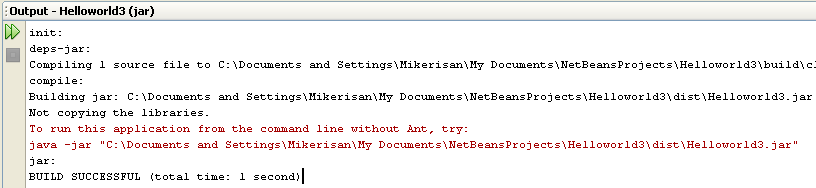
8. Let continue, notice the building progress messages in the Output window.
9. The following is the build icon short cut (![]() ).
).
10.If there are no error(s), run the Java program. Click the Run button (![]() ) or can also be accessed through the Run menu.
) or can also be accessed through the Run menu.
![]()
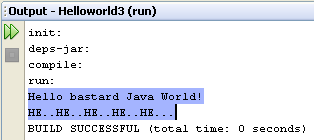
11.The output is shown in the Output window.
Well, basically at this stage, you supposed to be able to use, get familiar with NetBeans and know how to do the simplest Java programming.