<Install MySQL GUI Tools |Main |MySQL DML practice 1 >
MySQL:
Create and Manipulate Database Using MySQL GUI Tools
We will create a database and a master table and then populate it with some data to see its functionalities. We will use and get familiar with MySQL GUI tool mainly the Query Browser because it is more convenience to certain extent. However, keep in mind that in this tutorial we are not concerning the database design aspects and so on, the purpose is just to create a very simple database and a table, populating with some data, playing with them and to be familiar with MySQL GUI tool.
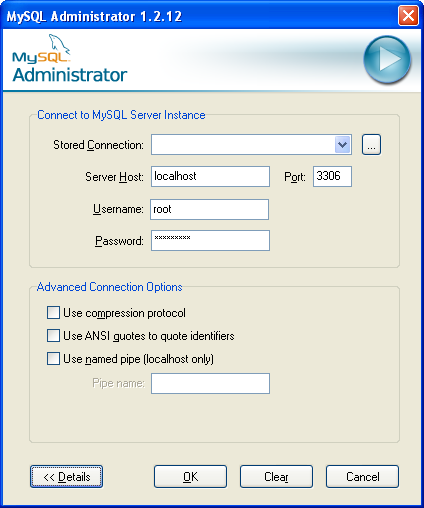
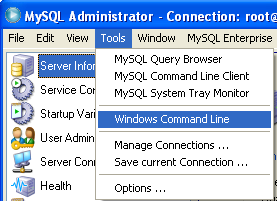
1. Firstly let get familiar with MySQL Administrator. Launch it through the Start > Program Files > MySQL > MySQL Administrator.

2. Key in your root password and click OK.
3. We will be greeted by the following MySQL Administrator main page.
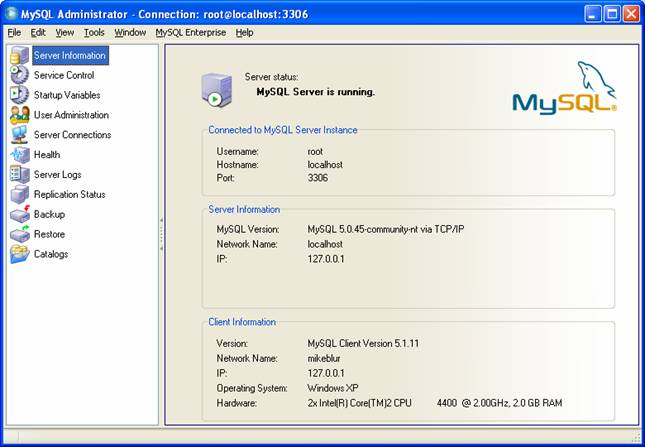
4. Let explore the menu items available for us. MySQL is a single point administrator where we can manage the MySQL server, creating and manipulating databases and many more.
|


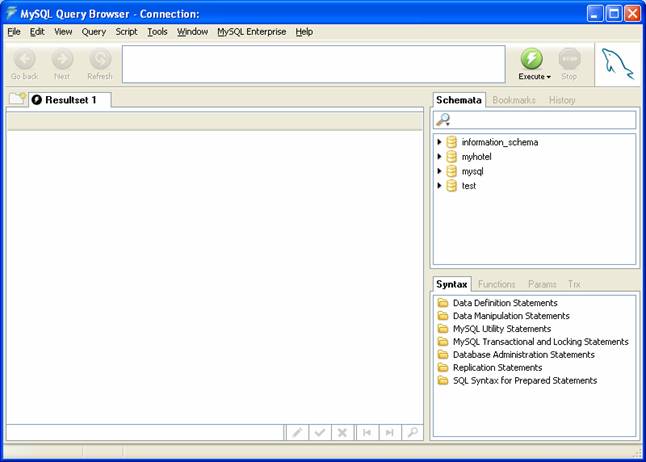
5. Query Browser also can be accessed from Start > Program Files > MySQL > MySQL Query Browser.

6. We have an online help.

7. An example of MySQL control flow function shown in the following Figure.

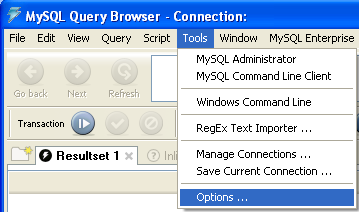
8. Let go to Tools > Options.
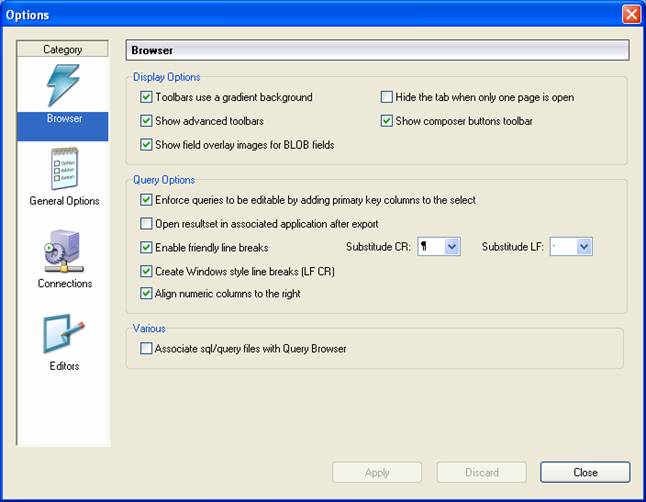
9. The following Figure shows the Options available.
10.In our case we will start with creating a database using a script. Run the following statement to create a database named ftmstudentrecord.
CREATE DATABASE IF NOT EXISTS ftmstudentrecord;

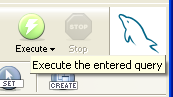
11.Click the Execute button.
12.Notice the message at the bottom left task bar.
![]()
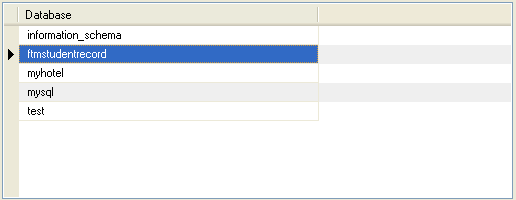
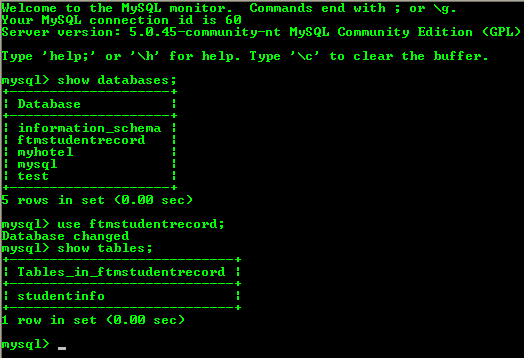
13.Then let verify our task. Run the SHOW DATABASES; statement and the following is the available databases that include our just created, ftmstudentrecord database.
SHOW DATABASES;
14.Next we will create a table in ftmstudentrecord. Keep in mind that at this stage you can switch back to MySQL Administrator to create tables. However in this case we will use Query Editor for this purpose. The following Table list down our tables’ columns and their respective data type. This will be our master table and we can edit it later for example adding more column and record.
Column Name | student_id (PK) | name | date_of_birth | address | marital_status | program | mode_of_study | country_origin |
Data Type | CHAR(10) | CHAR(40) | DATE | CHAR(50) | CHAR(10) | CHAR(35) | CHAR(15) | CHAR(20) |
Other | - | NOT NULL | NOT NULL | NOT NULL | NOT NULL | NOT NULL | NOT NULL | NOT NULL |
15.Run the following statement in the Query editor. Before that you may want to maximize the Query window.

16.Firstly change to the desired database.
USE ftmstudentrecord;

17.Notice that the bold means we are currently using that database schema.

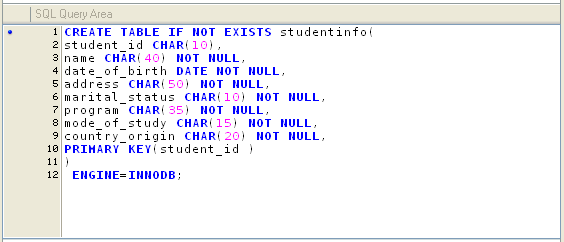
18.Next run the following SQL script.
CREATE TABLE IF NOT EXISTS studentinfo(
student_id CHAR(10),
name CHAR(40) NOT NULL,
date_of_birth DATE NOT NULL,
address CHAR(50) NOT NULL,
marital_status CHAR(10) NOT NULL,
program CHAR(35) NOT NULL,
mode_of_study CHAR(15) NOT NULL,
country_origin CHAR(20) NOT NULL,
PRIMARY KEY(student_id )
)ENGINE=INNODB;
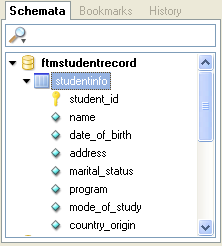
19.Refresh by clicking the refresh button ( ![]() ). Expand the table in the Schemata window.
). Expand the table in the Schemata window.
20.Let delete our previously created table. Execute the following statement and refresh.
DROP TABLE studentinfo;
21.Let try another method to create previous studentinfo database. Launch MySQL Table Editor.

22.The following is the Table Editor.
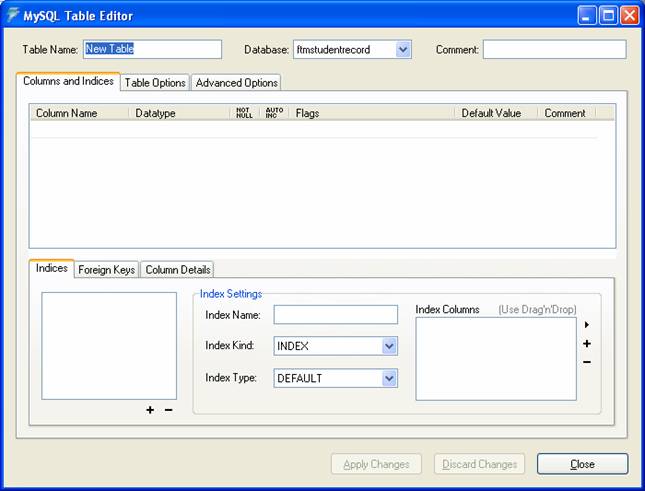
23.Key in all the studentinfo table information shown below.

24.The following confirmation message will be displayed. Click Execute button. If there are any error(s), it will be displayed.

25.The following is the Table Options page.

26.Click the Apply Changes button. The following is another confirmation page. Click Execute button.
|

27.Run the DESC studentinfo; statement to verify our previous task. The table with data displayed in the Resultset.

28.Next step is to populate studentinfo table with some data. Use the following script for this purpose. Run one by one.
INSERT INTO studentinfo values('s87998', 'Ahmad Nesfu bin Rahim', '1979-02-07','231 St 3, Nilai, 32000, Seremban, Negeri Sembilan', 'single','MSc. IT', 'full time','Malaysia');
INSERT INTO studentinfo values('s23234', 'Abdullah ibni Masood', '1974-10-09','5-3, Smart Street 6, TY, 12000, Abu Dhabi','married','MEng. BioTech','part time','Yemen');
INSERT INTO studentinfo values('s67342', 'Mustar J. Smith', '1969-08-15','553, Peace Apt, 34100, Keriang, Jawa','married','MSc. ICT','part time','Indonesia');
In MySQL, if we want to insert multiple rows, we need to use the following format.
INSERT INTO studentinfo(student_id, name, date_of_birth, address, marital_status, program, mode_of_study, country_origin) values('s87998', 'Ahmad Nesfu bin Rahim', '1979-02-07','231 St 3, Nilai, 32000, Seremban, Negeri Sembilan', 'single','MSc. IT', 'full time','Malaysia'),
('s23234', 'Abdullah ibni Masood', '1974-10-09','5-3, Smart Street 6, TY, 12000, Abu Dhabi','married','MEng. BioTech','part time','Yemen');
('s67342', 'Mustar J. Smith', '1969-08-15','553, Peace Apt, 34100, Keriang, Jawa','married','MSc. ICT','part time','Indonesia');
29.Run the following statement to verify our task.
SELECT * FROM studentinfo;

30.Well, we can edit/update, edit, delete and doing other task against the MySQL database now. Let use MySQL Command Line Client against the database.
------------------------------------------------------------

31.You should be familiar with this console if you have tried all the previous tutorials. Issue the following MySQL statement.
Show DATABASE;
32.Issue the following SQL statement to describe the detail of the table.
desc studentinfo;

Well, that all for this moment. We will continue manipulating this database later, using NetBeans and start designing GUI form to manipulate our very loose and simple database program in next tutorials.