Using Hibernate
in a Java Swing Application 5
|
|
Creating the Application GUI
In this exercise you will create a simple JFrame form with some fields for entering and displaying data. You will also add a button that will trigger a database query to retrieve the data.
Creating the JFrame Form
Select and right-click the project node in the Projects window and choose New > Other to open the New File wizard.
|

Select JFrame Form from the Swing GUI Forms category. Click Next.

Type MyDVDStoreAdmin for the Class Name and type sakila.ui for the Package. Click Finish.

When you click Finish the IDE create the class and opens the JFrame Form in the Design view of the editor.

Adding Elements to the Form
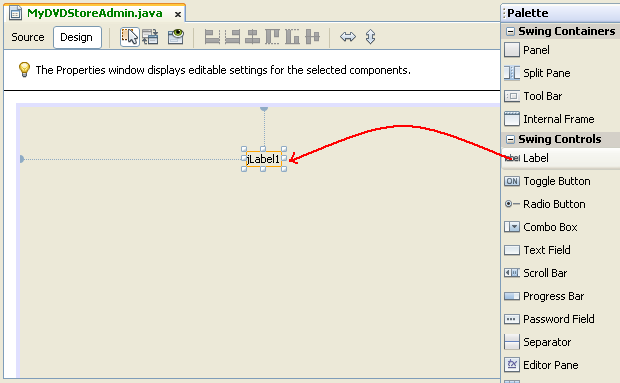
You now need to add the user interface (UI) elements to the form. When the form is open in Design view in the editor, the Palette appears in the left side of the IDE. To add an element to the form, drag the element from the Palette into the form area. After you add an element to the form you need to modify the default value of the Variable Name property for that element.
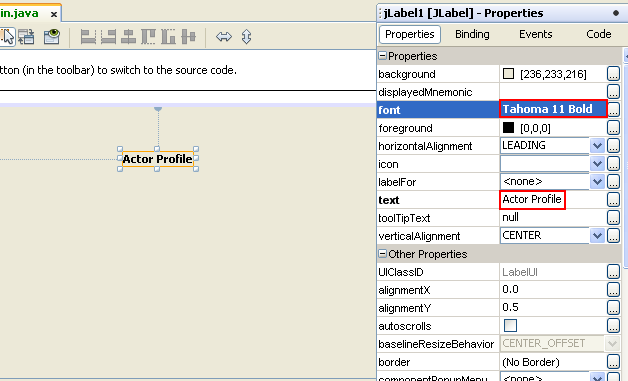
Drag a Label element from the Palette and change the text to Actor Profile.
Drag a Label element from the Palette and change the text to First Name.

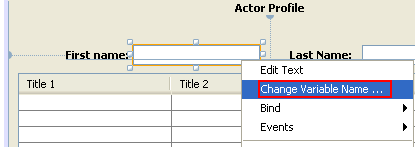
Drag a Text Field element next to the First Name label and delete the default text.

-------------------------------------------------------------------
--------------------------------------------------------------------

Drag a Label element from the Palette and change the text to Last Name.
Then, drag a Text Field element next to the Last Name label and delete the default text.
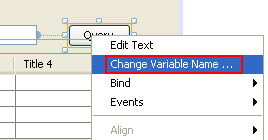
Drag a Button element from the Palette and change the text to Query.


Drag a Table element from the Palette into the form.
Modify the Variable Name values of the following UI elements according to the values in the following table.
|
Element |
Variable Name |
|
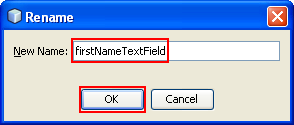
First Name text field |
firstNameTextField |
|
Last Name text field |
lastNameTextField |
|
Query button |
queryButton |
|
Table |
resultTable |
You can modify the Variable Name value of an element by right-clicking the element in the Design view and then choosing Change Variable Name. Alternatively, you can change the Variable Name directly in the Inspector window.
You do not need to assign Variable Name values to the Label elements.


The following screenshot shows how to change the variable name from the Inspector window of NetBeans 6.9.1. Just select by clicking the element and change the variable name to a new one directly.

You can test preview the GUI design by clicking the following icon.
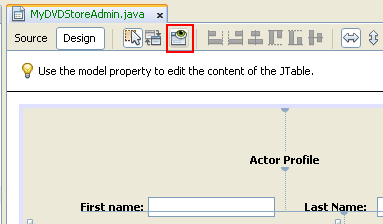
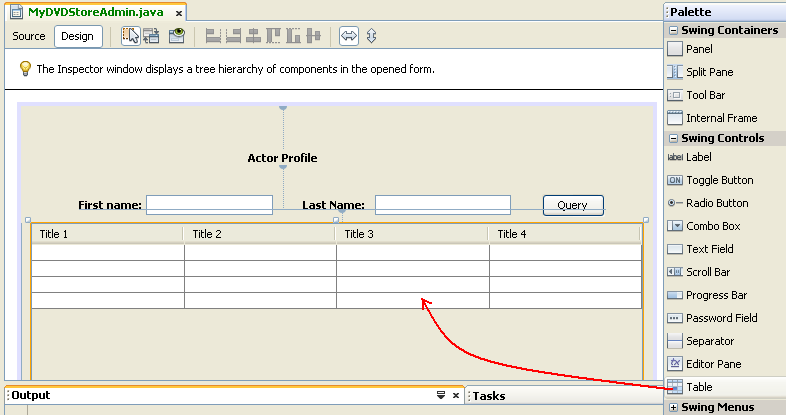
In Design view your form should look similar to the following Figure.

Save your changes. Now that you have a form you need to create the code to assign events to the form elements. In the next exercise you will construct queries based on Hibernate Query Language (HQL) to retrieve data. After you construct the queries you will add methods to the form to invoke the appropriate query when the Query button is pressed.
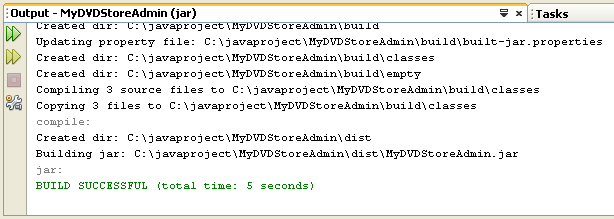
Build the application. Select the project root folder > right-click mouse > select Build menu.

Make sure there is no error that can be seen in the Output window.