Installing ActivePerl on Windows 2003 Server with Apache
What do we have in this session?
-
Download Perl Windows Installer
-
Activating CGI for Apache
-
Enabling CGI in any directory
-
Finding your location to perl
-
Some Notes
-
Testing CGI
-
Perl Command Invocation
Download Perl Windows Installer
Download the Windows installer version at: activestate.com. This complete and ready-to-install, the free ActivePerl distribution includes core Perl, popular modules, the Perl Package Manager (PPM), and complete documentation. The Windows version provides other additional features that have made ActivePerl the worldwide standard for Perl on Windows.
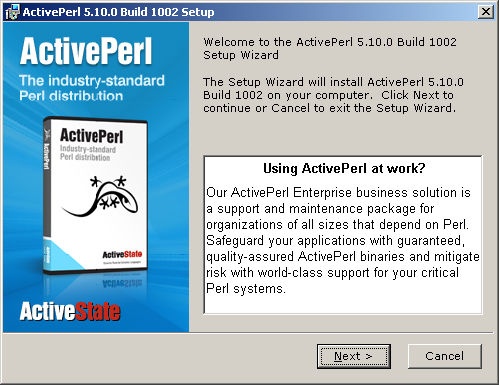
Double click the MSI installer.

Click Next button.
Accept the License Agreement and click Next.

In this case we select all the features. Click Next.

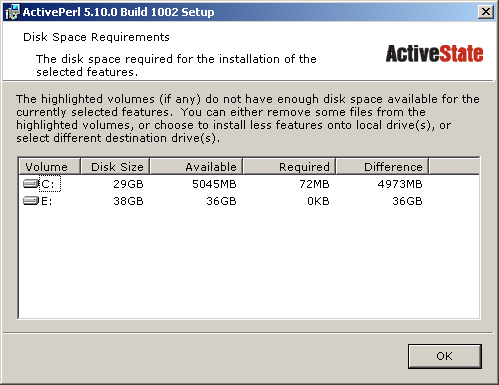
View the disk space requirement and then click the OK button.
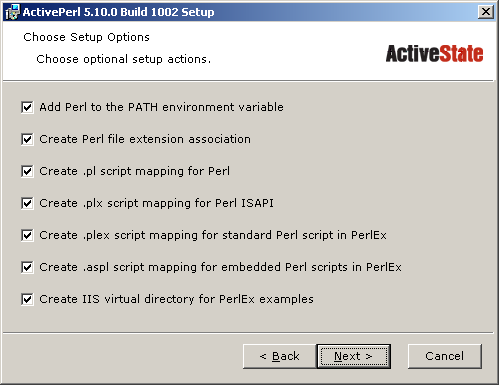
In this case we select all the options. Click Next.
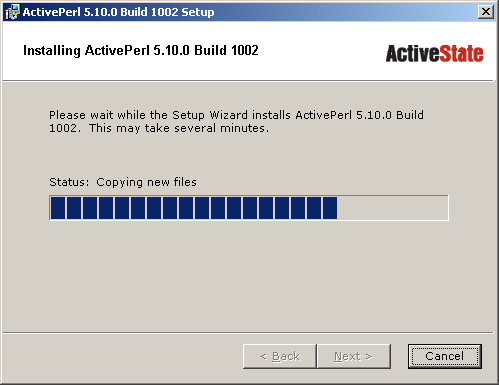
Click Install to start the installation.

The installation should begin.
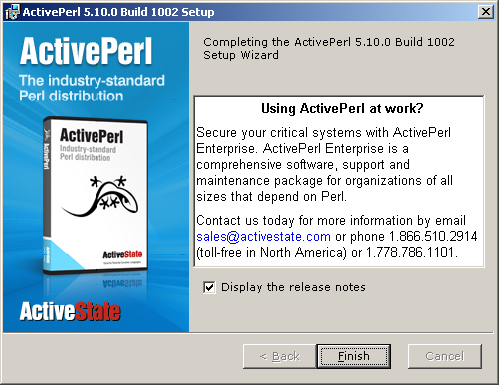
Click the Finish button. If there are any errors, those error should be displayed during the installation process.
Now, check the path in the Windows environment variables. All the path should be set as shown below by the installation wizard.

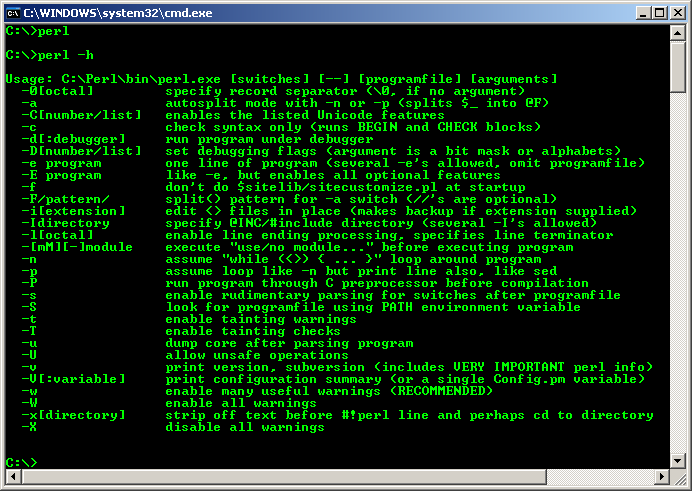
Then, test the perl command at the Windows command prompt.
The Perl Package Manager (PPM) used for package update/download should be visible from Windows Start menu.

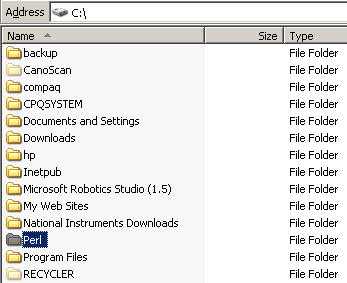
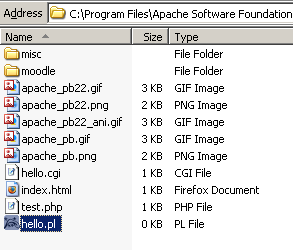
The following screenshot shows the Perl root folder.
If you will be using Perl CGI programs and want to maintain some level of portability between both Linux and Windows machines, you will want to install Perl to the same location on your Windows machine that it is on most Linux machines which is highly recommended that you install perl to a directory like c:\usr\ which resembles the Linux system.
For example, on a standard Linux machine, Perl is located at /usr/bin/perl and so every Perl program that we write begins with #!/usr/bin/perl. So, when we install Perl on a Windows machine, instead of installing it in the default location (for example, c:\perl) we install it in C:\usr so that the Perl executable is located at /usr/bin/perl. This allows us to write code on our Windows machine, then move it (without making any changes) to a Linux machine and have it run there and vice versa.

Activating CGI for Apache
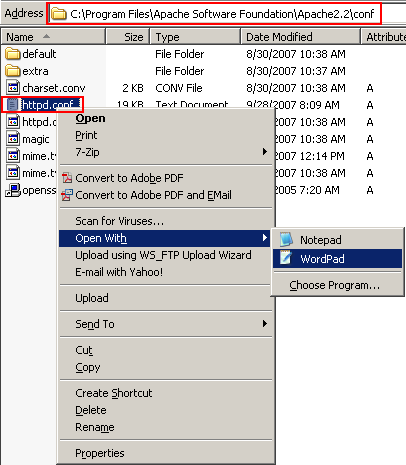
Using Notepad (or other unformatted text editor) open C:\Program Files\Apache2_2\conf\httpd.conf, Apache config file (also should be a start-menu shortcut called "Edit Apache HTTP httpd.conf File"). Your path may be different.
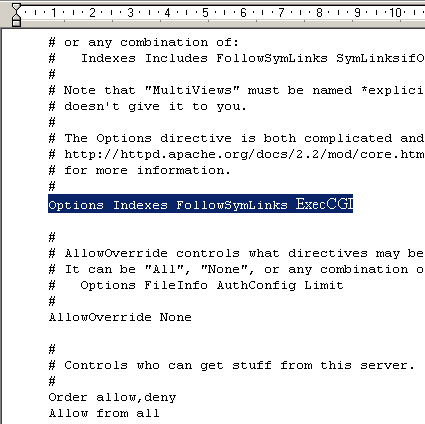
And search for
Options Indexes FollowSymLinks
(About line 267) when you find it add ExecCGI to the end so it looks like:
Options Indexes FollowSymLinks ExecCGI
|
|
|
Enabling CGI in any directory
If you want to use CGI outside the C:/Program Files/Apache2_2/cgi-bin/ ScriptAliased directory, you will need to uncomment the following line (done in this case because we will use Apache’s root_document to test the cgi file later):
#AddHandler cgi-script .cgi
Becomes (removing the #)
AddHandler cgi-script .cgi
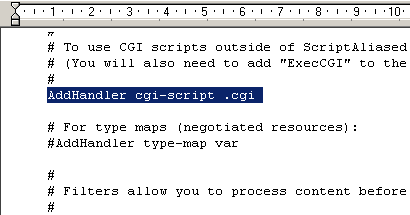
We also added .pl behind .cgi so 'perl' extension (.pl) is also treated as cgi files.

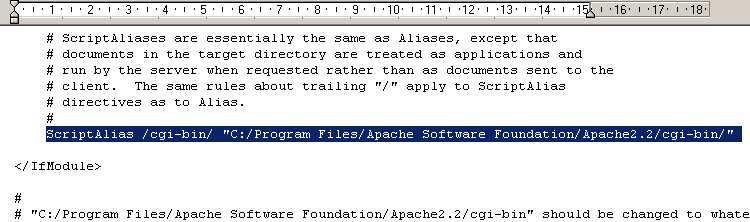
If you will be creating your own cgi-bin, you will want to comment out (not done in this case):
ScriptAlias /cgi-bin/ "C:/Program Files/Apache2_2/cgi-bin/"
So it becomes
# ScriptAlias /cgi-bin/ "C:/Program Files/Apache2_2/cgi-bin/"
Finding your location to Perl
If you do not know where your perl.exe installed to, go to Start -> Search and type in a search for perl.exe. This location is the path to Perl that you put on the top of all your cgi scripts.

Some Notes
For the perl path C:/perl/bin/perl.exe all of the following are valid. We prefer the last one because of the Linux and Windows portability.
#!C:/perl/bin/perl.exe
#!C:/perl/bin/perl
#!/perl/bin/perl.exe
#!/perl/bin/perl
Testing CGI
If you uncommented (removed the # symbol) the line AddHandler cgi-script .cgi in previous (step #4), then create a file in your Apache’s document_root called hello.cgi and put these three lines in it. (if you did not comment/disable it, put the CGI file in C:/Program Files/Apache2_2/cgi-bin/):
#!/usr/bin/perl
print "Content-type:text/html\n\n";
print "hello world";


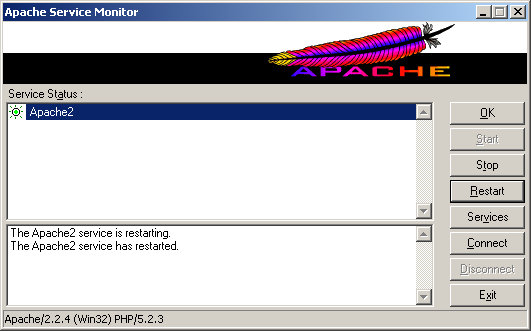
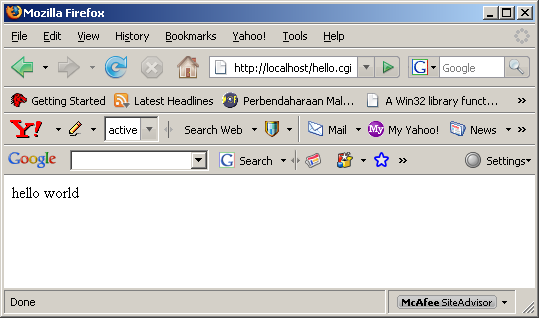
Restart Apache if it is already running. Now go to http://localhost/hello.cgi (or wherever you put the file) and run the script.
If you get a hello world in your browser as shown below, CGI is running. If you get a 500 error, go to the last entry in C:/Program Files/Apache2_2/logs/error.log (or the Review Error Log in the start menu) to see exactly what caused this error.
We think this will help you to run perl on windows platform using Apache web server. You may want to try another simple example using .pl extension. Create a file with .pl extension with the following simple script and run it through Internet browser as done previously.

Perl Command Invocation
Assuming that your Perl is correctly installed and working on your system, the simplest way to run a Perl program from Windows console is to type the following command:
perl filename.pl
The filename should be replaced by the name of the program that you are trying to run or execute. If you created a sample.pl file for example, you can run it like this:
perl sample.pl
This example assumes that perl is in the execution path; if not, you will need to supply the full path to perl too. For example, on UNIX the command might be:
/usr/local/bin/perl sample.pl
Whereas on Windows NT, you might need to use:
c:\perl5\bin\perl sample.pl
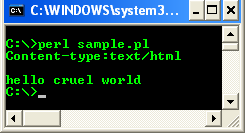
As an example we create the following simple, sample.pl file and put it on C:\.
#!C:/perl/bin/perl
print "Content-type:text/html\n\n";
print "hello cruel world";
Then we run it from Windows console.
UNIX systems have another way to invoke a program. However, you need to do two things. The first is to place a line like
#!/usr/local/bin/perl
at the start of the Perl file. This tells UNIX that the rest of this script file is to be run by /usr/local/bin/perl. The second step is to make the program file itself executable by changing its mode
chmod +x sample.pl
Now you can execute the program file directly and let the program file tell the operating system what interpreter to use while running it. The new command line is simply:
sample.pl
Well, that all folks!